Downloads Movies, Games, Software, and More
In today’s era of technology, everyone knows how to download the latest movies. But everyone can’t afford to pay subscription ...
Read more
Latest IsoHunt Working Websites, Proxies & Alternatives 2024

IsoHunt was a well-liked Bit Torrent search engine with a robust P2P user base. Through this program, users can communicate ...
Read more
Download the Free Movies, TV Shows, Games and More…
Everyone enjoys using free online content that they can download. The majority of free downloads on the internet come from ...
Read more
Kickass Proxy Sites List (Dec. 2023) to Unblock KickassTorrents

Kickass Torrent is a popular Bit Torrent site which has its own dominance in the torrenting industry. Due to the ...
Read more
Top TamilRockers Proxy List 2024 (Updated)

Tamilrockers is one of the most renowned torrent websites that use the P2P file-sharing method to share illegal copyrighted content ...
Read more
Latest RARBG Proxy Sites List (Self Added) & Replacement 2024

Demand for watching online content is still increasing these days. People are more comfortable watching content online on their smartphones ...
Read more
Latest Idope Working Websites, Proxies & Alternatives 2024

To find Torrents with some good file quality and better-downloading speed, it’s quite a tiring task. At times, these top-torrent ...
Read more
H33T Proxy List to Unblock H33T Site 2024

Welcome to our article about H33t, a once-popular torrent indexing website that is used for searching and downloading a variety ...
Read more
TorrentDownloads New Sites & Proxy List 2024
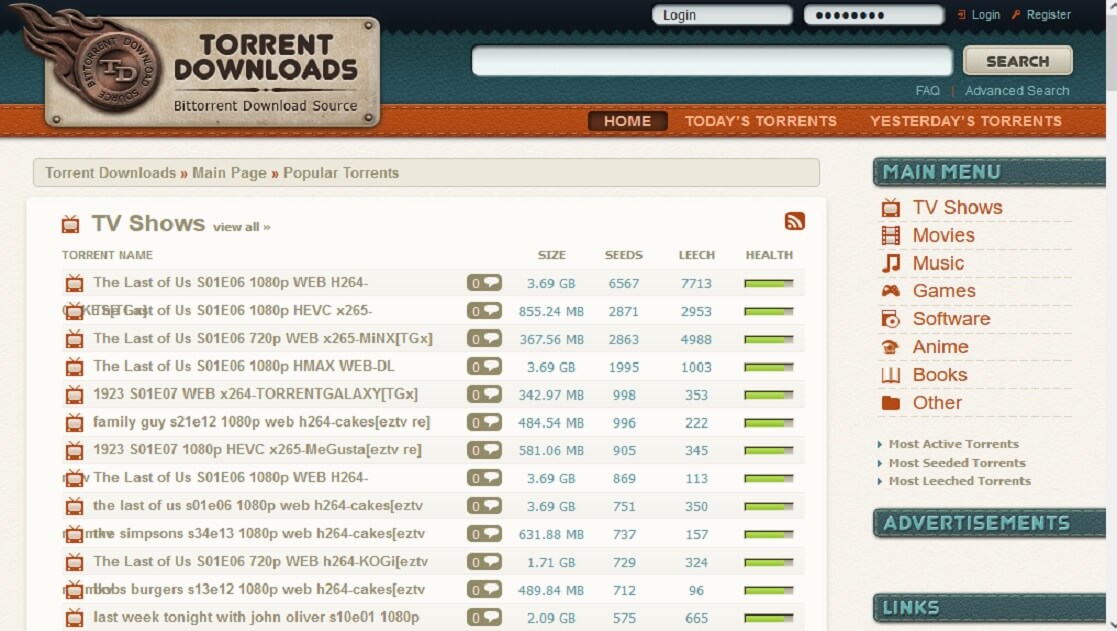
Whether the search is for high-quality torrents or the best free indie movies, TV shows, albums or open-source software, Torrentdownloads ...
Read more
100% Working Unblocked Zooqle Sites 2024
When looking for a reliable website to download torrents, look no further than Zooqle. Everything from media to software to ...
Read more
New Working MagnetDL Websites & Proxies 2024
Today, there are several streaming platforms available. There are so many sources to watch movies, series, dramas, play games, and ...
Read more
Torrentgalaxy Proxy Sites List 2024
As its names imply, Torrent Galaxy is a massive torrent tracking site. Each page of this website is jam-packed with ...
Read more
New Pirate Proxy Sites List (Dec. 2023) to Unblock The Piratebay
Pirate Proxy Sites are clones of the original pirate bay torrent website. As everyone knows the main or original site ...
Read more